
Getting Started
As a beginner, getting into making home medicine, I researched and found the best supplies to use are what you already have available at home. Only make future notes of things that might affect your end results, that you can consider upgrading or purchasing more supplies. Otherwise, there’s no need to go out and buy everything I or a resource book recommend all at once, think creatively and use what you have access to already.
Glass jars with matching lid (metal, plastic, or glass), baskets/bowls, scissors, knifes, jelly pans, large plates, string, strainers, etc. I’ll provide a beginners list below as well as a few additional supplies if you’re looking to improve your herbal foraging/gathering and processing.
Supplies list
- Reference book or clear concise images with apt descriptions of plants you gather
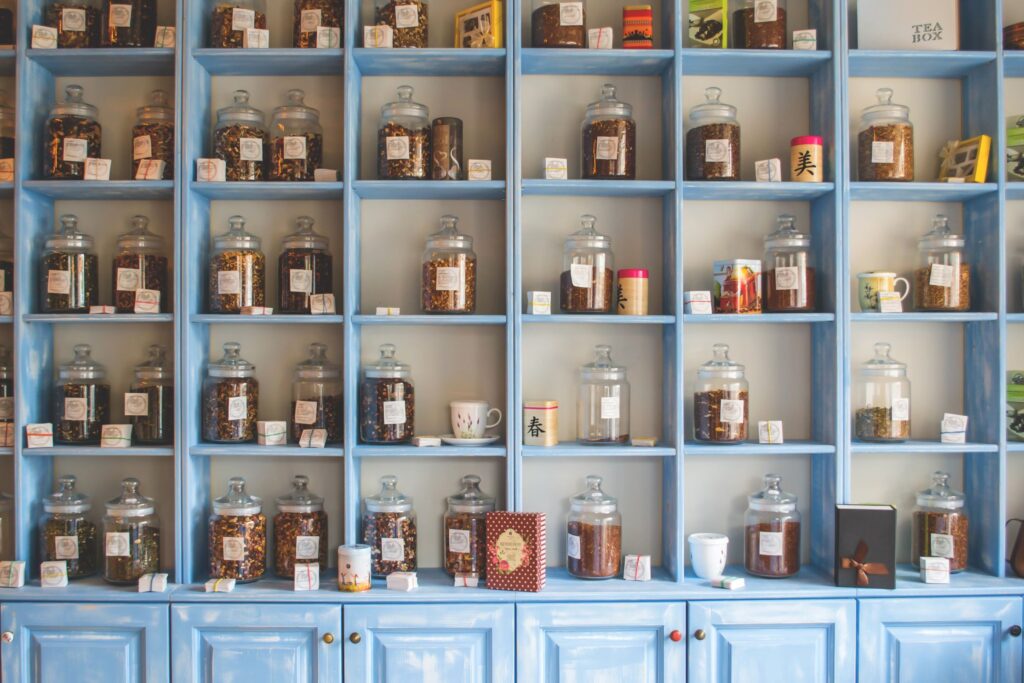
- Glass jars/bottles/containers, with an air-tight matching lid
- Something to carry or hold your gathered herbs in: baskets, buckets, bowls, tubber ware
- Alternatives can be paper bags, or even plastic bags/Ziplock
- Clean scissors
- Sharp knife(s)
- Jelly pans or large flat plates
- String/twine
- Fine mesh strainer/colander
- *optional: cheesecloth or muslin
- Bowl
- Labels/Tape
- Pen/Marker
These items listed above are the general starters supplies and ones that I would encourage you to prepare when you get into harvesting and preparing your herbal medicinal plants.
Not necessary, but additional supplies
- Gloves
- Spade/shovel
- Magnifying glass or jeweler’s loupe
- Dropper bottle and eye dropper
- Funnel
- Plastic wrap/saran wrap
Tincture Ingredients
- Suspending liquid
- Filtered Water
- Vodka (80-100 proof/40%-50% ACV)
- *Optional (Organic) Food-Grade Vegetable Glycerin
- *Optional Apple Cider Vinegar
Understand The Procedure
Planning: Getting into foraging and medicine prepping takes planning and awareness of the best seasons for harvesting, that goes for the grocery runs as well. Not all food sticks around all season – most have a “harvest” appropriate date, and especially in wild foraging. So plan your day trips and be sure to gather your tools/supplies beforehand.
Patience: Patience is a virtue and skill, not everyone has it, but against nature – it is essential. It takes time for plants to grow, seasons to change, herbs and tinctures to process, and waiting for the medicine to work. Time and patience are both valuable towards building your initial herbal medicinal go-to’s.
Parts used: I will mention the value of the whole plants but knowing which portions of the plants to be correctly used and how much matter.
Storage: Most herbal medicines are stored in long-lasting forms which tend to be in tincture form, however depending on the plant, may need a change in storage. For example, if the plant’s herbal medicine purpose is for topical (applied to skin) and not ingested, then a salve or oil decoction might be recommended.
Processing Style: When you are doing this at home, the easiest way to process your herbal plants is via air or sun drying. You can advance up and invest into a dehydrator or freeze-dryer, but the cheapest and most ancient way to airdry.
Making Tincture: This series will largely be focused on making tinctures which is to suspend the herbal compounds of the plant constituents in alcoholic soluvant. Alcohol at 80-90 proof is the longest lasting form to store herbal medicine. I’ve read from some of my herbal medicine books, that if herbal tinctures made with alcohol, properly strained, and stored appropriately can still be lab-tested 10 years later and still viable!
Step 1: Decide which herbs to use. Dried or Fresh – if fresh, wash and clean them thoroughly, then chop them into small pieces to increase surface area for maceration (releasing compounds). Dried herbs should be full dry before use to prevent mold.
Tinctures can be singular herbs or a mixture of a few, based on the medicinal properties you want to have. Just be aware the herbs you are using are appropriate use for consumption and if any health conditions you may have that they are safe to use.
Step 2: Put your chopped or dried herbs into your glass jar. General measurement is to fill your jar halfway with fresh herbs and 1/3 with dry herbs. Overall, be sure there is enough space for liquid.
Step 3: Pour alcohol (or vinegar or glycerin) over herbs, covering completely, until 1-2 inches is above the herbs.
Step 4: Cover your glass jar with airtight lid. Shake tincture and label it immediately with all ingredients used; (herbs, alcohol/liquid used), and the date you made it.
Step 5: Store your tincture jar in a warm spot, usually away from direct sunlight and let the tincture soak (macerate) for up to 4-6 weeks. Shake it daily to help solvent mix/coat herbs thoroughly and opens cell wall to release medicinal properties. Check liquid still covers all herbs – add alcohol if needed.
Step 6: After 4-6 weeks, strain the herbs from the liquid. Pour liquid into either a new clean glass (preferably dark amber) jar with tight lid or into an amber glass dropper bottle if you have one! Store finished product in a cool, dark place and BE SURE TO LABEL! Also be aware of expiration of your tincture – alcohol will last many years, glycerin will keep for 2 to 3 years, and vinegar-based will last for 1 year at least.
References:
- Gladstar R. Rosemary Gladstar’s Medicinal Herbs : A Beginner’s Guide.Storey Publishing; 2012.
- Maria Noël Groves. Body into Balance : An Herbal Guide to Holistic Self-Care. Storey Publishing; 2016.
- Hoffmann D. Medical Herbalism – the Science and Practice of Herbal Medicine. Inner Traditions Bear and Comp; 2003.
- Easley T, Horne SH. The Modern Herbal Dispensatory: A Medicine-Making Guide. North Atlantic Books; 2016.